Dallana, 7th grade
THE ASSIGNMENT
Before we begin, I explain these things to the students.
I talk about what Monochromatic Color is referring to Tints and Shades.
I go over how perspective in art shows how things appear to be smaller, less detailed, and occasionally lighter as the go further back towards the horizon line.
I talk about how they do not really do this, it just appears that way to the viewer.
If I walk away from you into the sunset, I do not really shrink, lose detail, or get lighter.
Our eyes just make it appear so.
Then we march to the computer lab and we open Microsoft Paint.
I go over quite a few hints to help them get started.
I explain how the magnifying glass can help them add small detail more successfully, how to create new colors and get to the tints and shades of them, and how to avoid paint spilling out of open shapes. I stress saving their work continually after each step to avoid erase work while reminding them that "Edit/Undo" can only be done minimally.
Despite this constant reminder... some still had a hard time.
Hope you have wonderful results!
Please share any that you do. I would love to see them.

Haley, 7th grade

Ashton, 7th grade

Brianne, 7th grade

Cederick, 8th grade

Mrs. Seaton
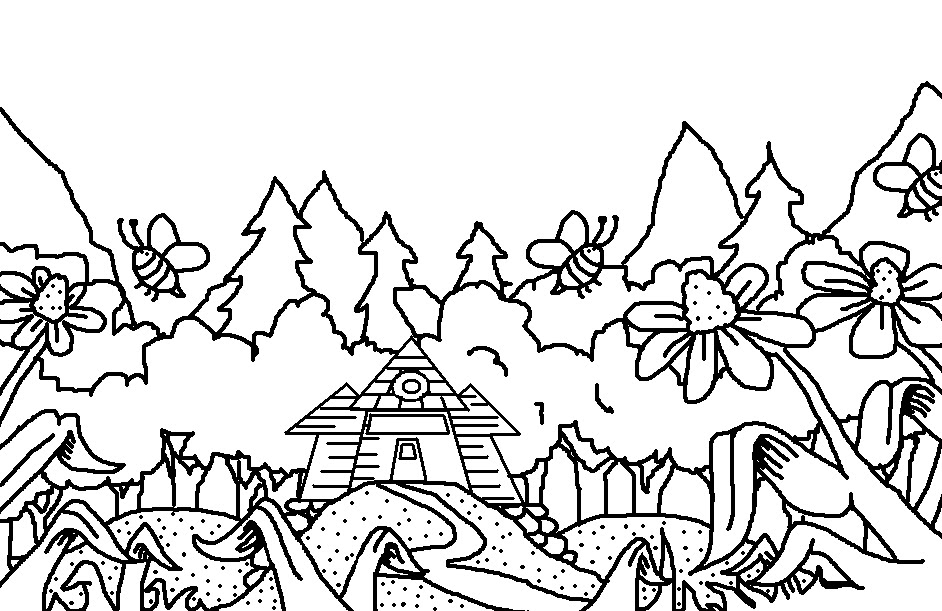
Step by Step
1. Draw in three or more layers to your landscape.
There should be a foreground, midground, and background.
(sky does not count as 3rd layer)
2. Choose only 1 color you like on the paintbox
3. Use that one color (MonoChromatic) to create your picture. You will used different tints and shades of this 1 color to make the atmosphere appear to go back and fade in the distance.
4. Fill in each layer getting lighter as the land recedes.
5. Go to first layer to put in more detail (grass texture, tree bark, leaves, etc).
Use darker shades or black to add in the details. Do not let this later get lighter by adding in lighter details.
It should stay darker than the middle layer.

Step 1 and 5


Steps 1, 4, and 5.
to see more student examples...
go to
http://classroom.mineolaisd.net/default.aspx?Mrs.+Tabitha+Seaton%2FMonoChromatic+Landscape